No description
- Python 57%
- HTML 39.9%
- JavaScript 1.3%
- CSS 1.1%
- Dockerfile 0.5%
- Other 0.1%
| app | ||
| configs | ||
| docker/PowerDNS-Admin | ||
| migrations | ||
| upload/avatar | ||
| .env | ||
| .gitattributes | ||
| .gitignore | ||
| .lgtm.yml | ||
| .travis.yml | ||
| .yarnrc | ||
| config_template.py | ||
| docker-compose.yml | ||
| init_data.py | ||
| LICENSE | ||
| package.json | ||
| README.md | ||
| requirements.txt | ||
| run.py | ||
| run_travis.sh | ||
| supervisord.conf | ||
| update_zones.py | ||
| yarn.lock | ||
PowerDNS-Admin
A PowerDNS web interface with advanced features.

Features:
- Multiple domain management
- Domain template
- User management
- User access management based on domain
- User activity logging
- Local DB / SAML / LDAP / Active Directory user authentication
- Google oauth authentication
- Github oauth authentication
- Support Two-factor authentication (TOTP)
- Dashboard and pdns service statistics
- DynDNS 2 protocol support
- Edit IPv6 PTRs using IPv6 addresses directly (no more editing of literal addresses!)
Running PowerDNS-Admin
There are several ways to run PowerDNS-Admin. Following is a simple way to start PowerDNS-Admin with docker in development environment which has PowerDNS-Admin, PowerDNS server and MySQL Back-End Database.
Step 1: Changing configuration
The configuration file for developement environment is located at configs/development.py, you can override some configs by editing .env file.
Step 2: Build docker images
$ docker-compose build
Step 3: Start docker containers
$ docker-compose up
You can now access PowerDNS-Admin at url http://localhost:9191
NOTE: For other methods to run PowerDNS-Admin, please take look at WIKI pages.
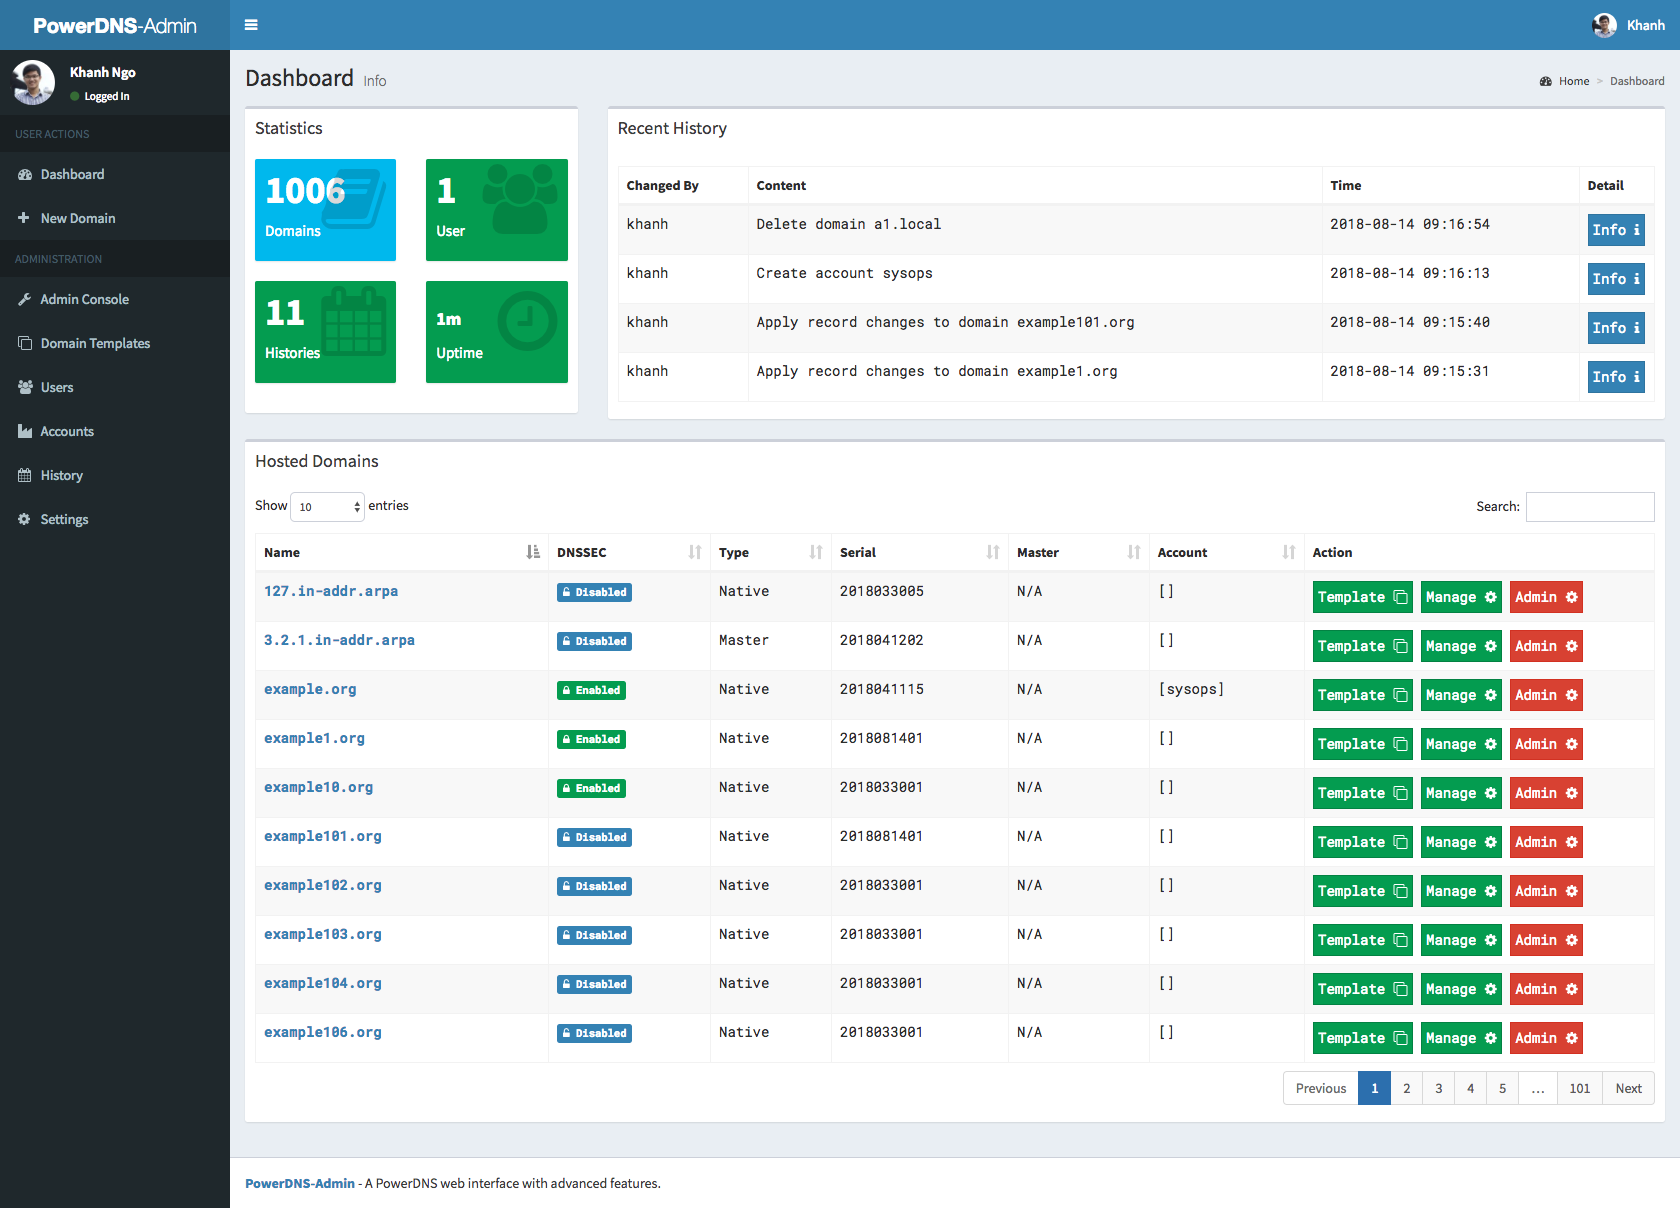
Screenshots